General
- What are Premium Spec Packages (PSPs)?
- How do I upload my quote or invoice and create a PSP?
- How do I email my quote or invoice and create a PSP?
- How do I create a PSP from the spec package’s edit page?
Premium Spec Package Editor
- How do I create and rearrange groups / rooms?
- How do I add models to the groups / rooms?
- Can I save my PSP without publishing it?
- How do I resume working on a saved PSP?
- Can I delete a PSP?
- How do I choose which documents to include?
- How do I include images?
- How do I include the original quote or invoice?
- How do I add and save notes?
- What are different layouts are available for the divider pages?
- How do I change the divider page layout?
- How do I annotate the spec package?
- (NEW in Beta v4!) How do add my own pictures?
- (NEW in Beta v4!) Can I rearrange pictures for a specific model?
What are Premium Spec Packages (PSPs)?
Premium Spec Packages are like normal spec packages, with the added ability to include product images, recently scanned documents (such as invoices and quotes) and supplemental product documents (such as user manuals, energy guides, and warranties) when available.
PSPs also allow users to group products by room, manufacturer or category, and add project- and model-specific notes for the package’s intended audience.
PSPs are not intended to replace the current functionality of full and slim spec packages; instead, they are designed to give salespeople extra control over their content when the need arises.
Because PSPs can potentially include time-sensitive information, PSPs will automatically expire after a given amount of time. The expiration date is displayed to the salesperson when the PSP is created.
As mentioned above, PSPs are not intended to replace normal spec packages. From the time the PSP is published to the time it automatically expires, it will be displayed on the spec package’s public page alongside the full and slim spec packages.
How do I upload my quote or invoice and create a PSP?
After uploading your document, click on the “Create premium spec package” button at the bottom of the spec package details. This button will bring you to the Premium Spec Package Editor. See video below:
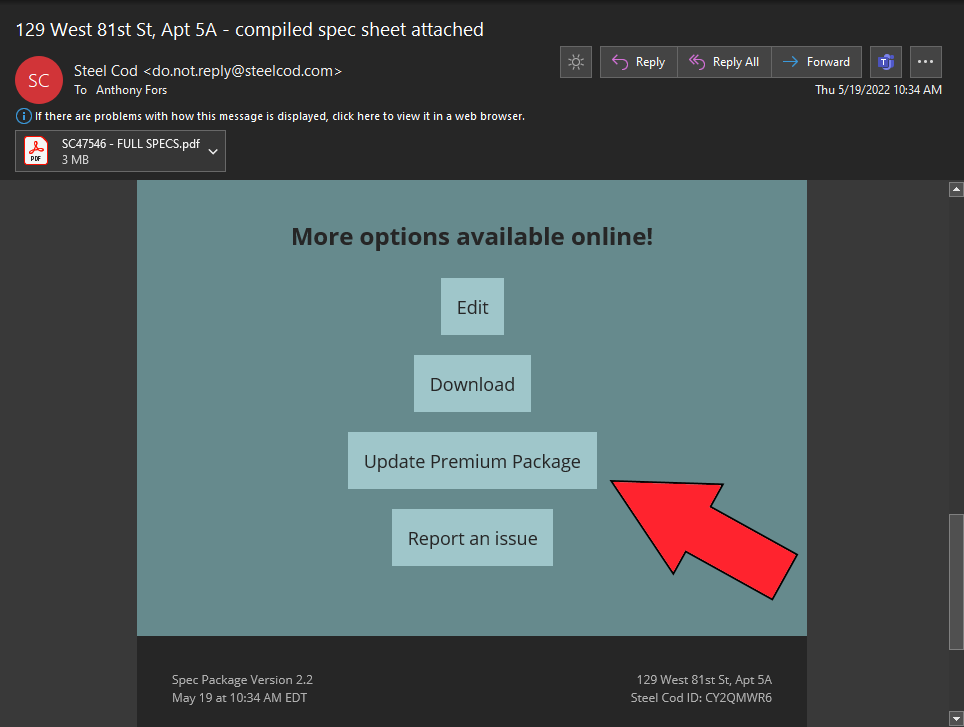
How do I email my quote or invoice and create a PSP?
When you receive the response email from Steel Cod with the resulting full spec package, click on the button “Create Premium Package”. This button will bring you to the Premium Spec Package Editor. (If a premium spec package is already published, the button will read “Update Premium Package”.)
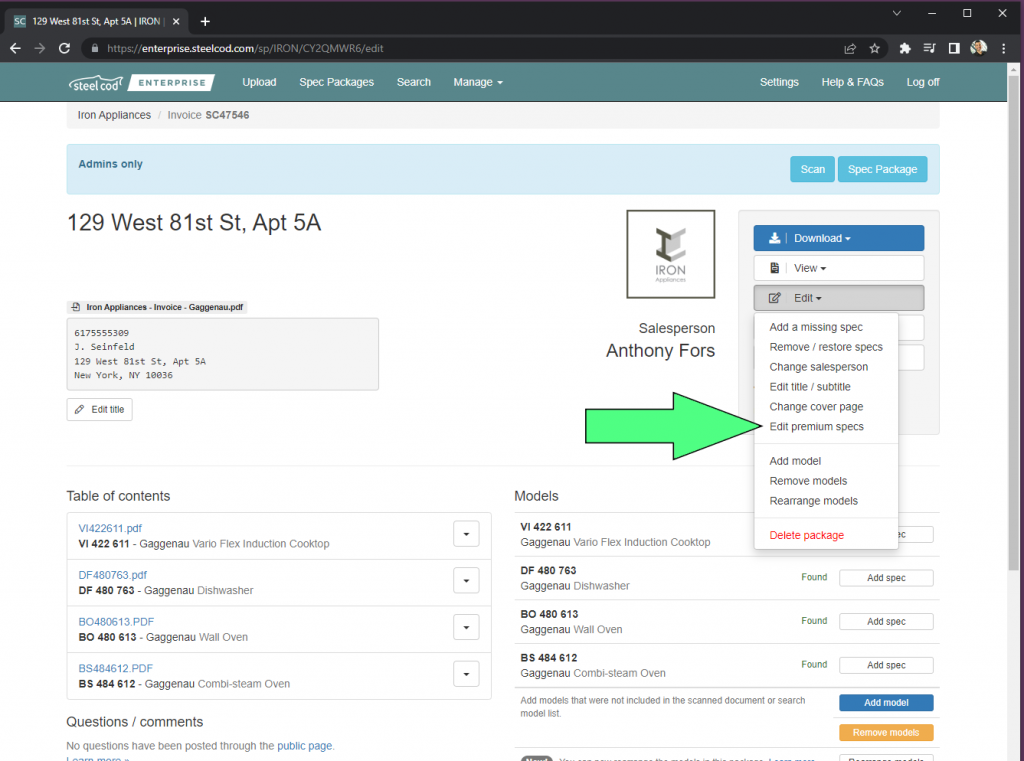
How do I create a PSP from the Spec Package Edit Page?
Select “Create premium specs” from the Edit menu. This button will bring you to the Premium Spec Package Editor. (If a premium spec package is already published, the button will read “Edit premium specs”.)
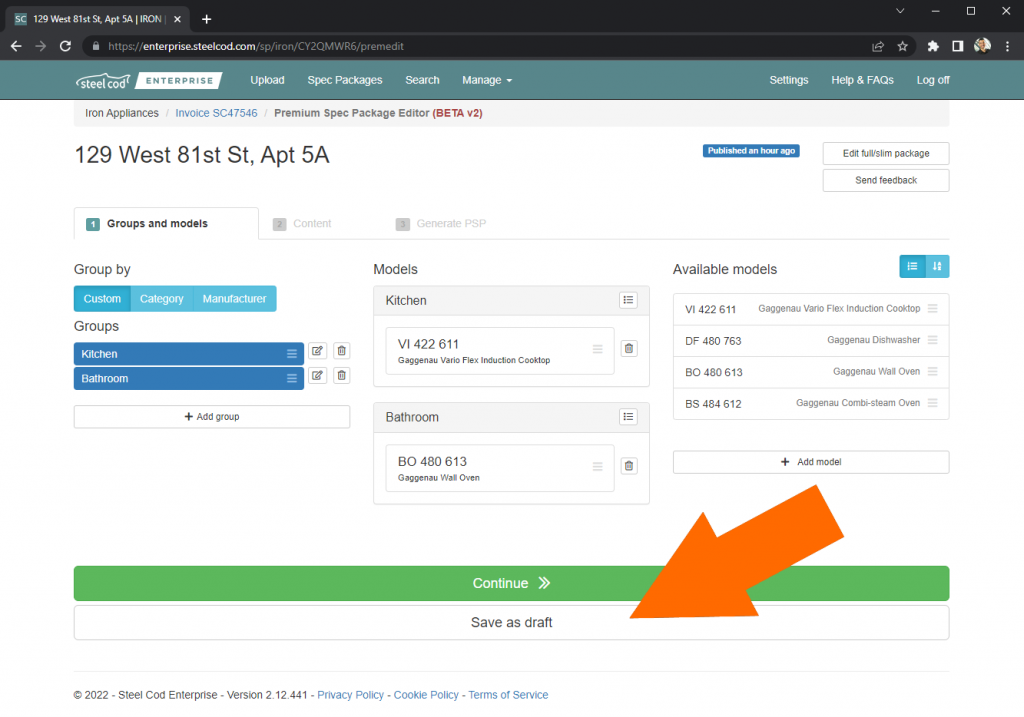
How do I create and rearrange groups / rooms?
New groups (or rooms) can be added by using the “Add group” button. Group names can be edited by clicking on the edit icon to the right of the group name. Groups can be rearranged by dragging and dropping. See video below:
How do I add models to the groups / rooms?
Models that already exist in the spec package can be added to a group either by clicking on the menu icon next to the group heading in the Models column, or by dragging and dropping from the Available models column. See video below:
Can I save my PSP without publishing it?
Yes, you can! Simply click on the “Save as draft” button at the bottom of the page you can resume working on your PSP at a later time.
How do I resume working on a saved PSP?
When you open the Premium Spec Package Editor for a specific spec package, you will be prompted to load the draft version (if available) or load the current version (if published).
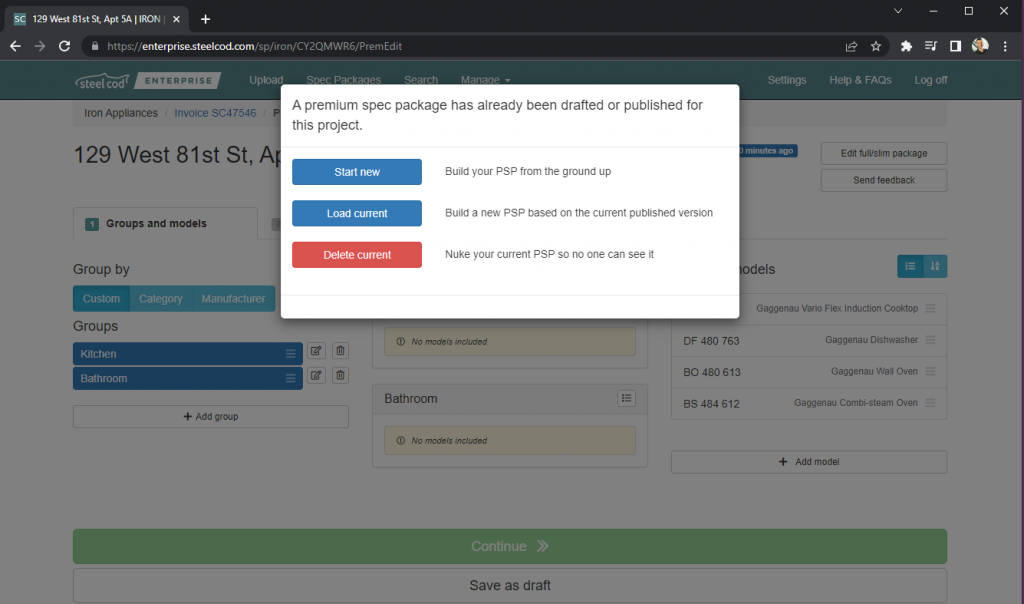
Can I delete a PSP?
Yes. When you open the Premium Spec Package Editor for a specific spec package, you will be asked if you want to delete the current version (if published).
How do I choose which documents to include?
Once you’ve selected your groups and models, you can choose to base your PSP on full specs or slim specs (or no specs, if you’re building a picture book). You can then choose which specifications and other supplemental documents you want to include by checking them on or off on the right hand side of the page. See video below:
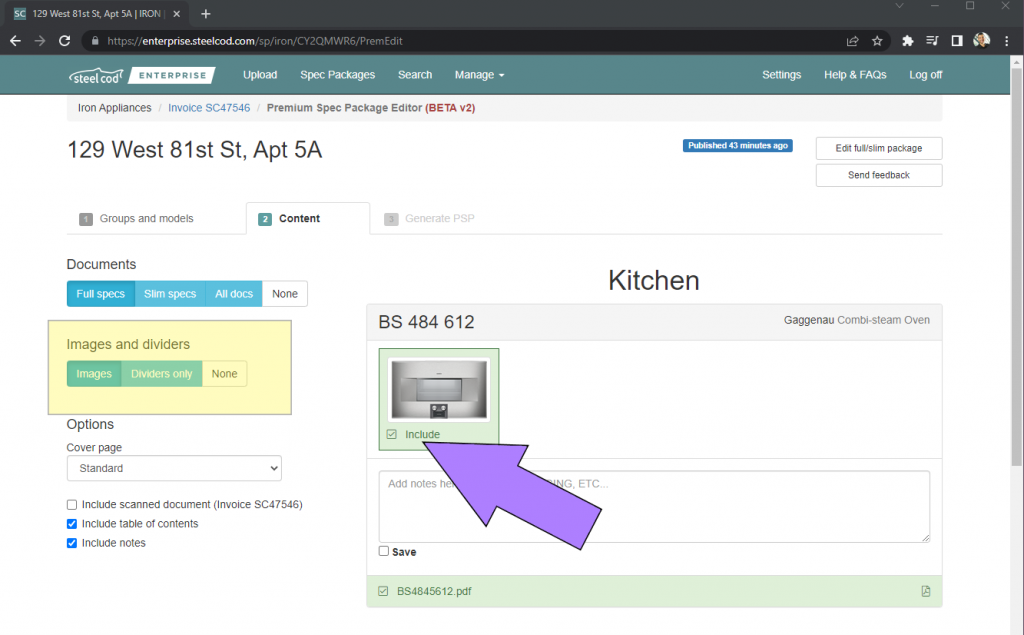
How do I include images?
Be sure to include “Images” under the Images and dividers section on the left column of the Content page. You can then select the images available from the Steel Cod product image library.
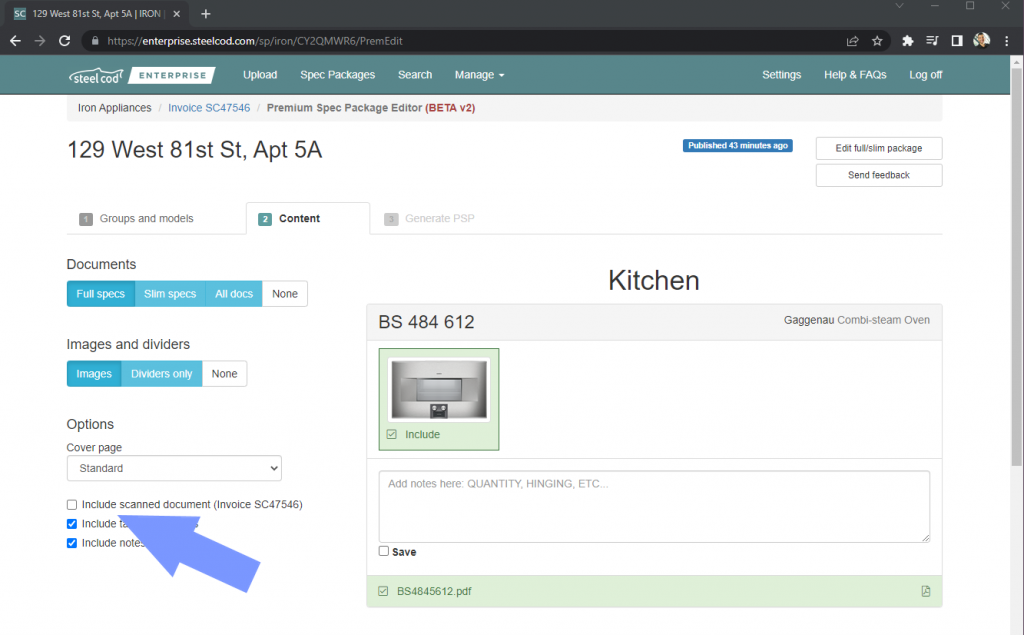
How do I include the original quote or invoice?
If you uploaded or emailed your original quote or invoice to create your spec package, that original document can be included in the premium spec package. It will continue to be included until the PSP expires or is deleted. It is not automatically updated in your PSP if you re-scan or re-send it.
How do I add and save notes?
Be sure to click on the “Include notes” checkbox on the left column, and then add notes to each model on the right column. If you want to re-use your note for future use, click on the “Save” checkbox immediately below the note. See video below:
What are different layouts are available for the divider pages?
You can choose one of three layouts for each divider page:
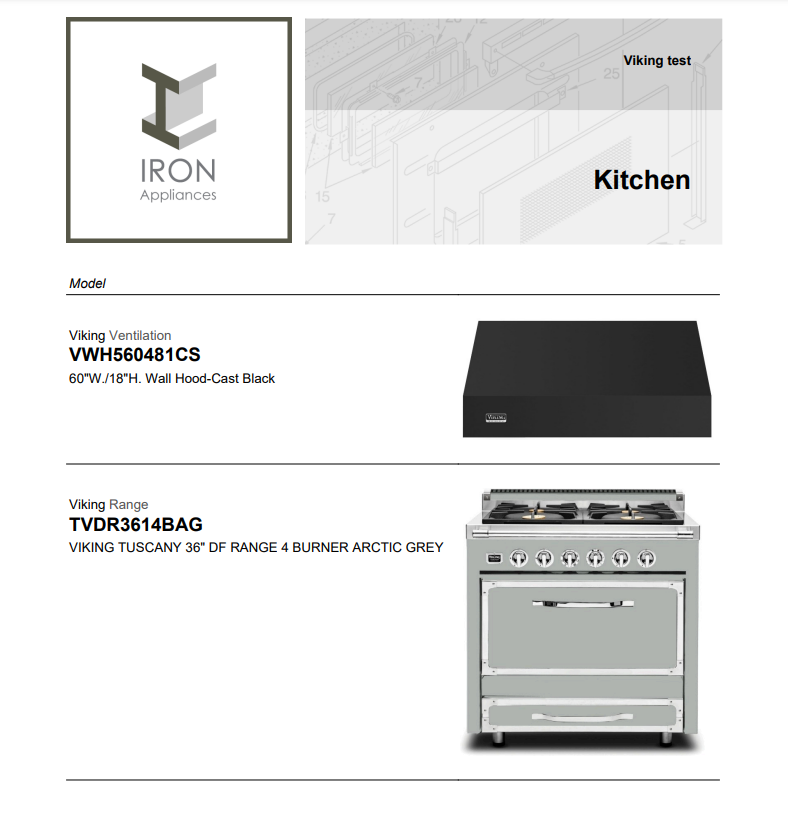
- List
- Each model gets its own row
- Portrait layout
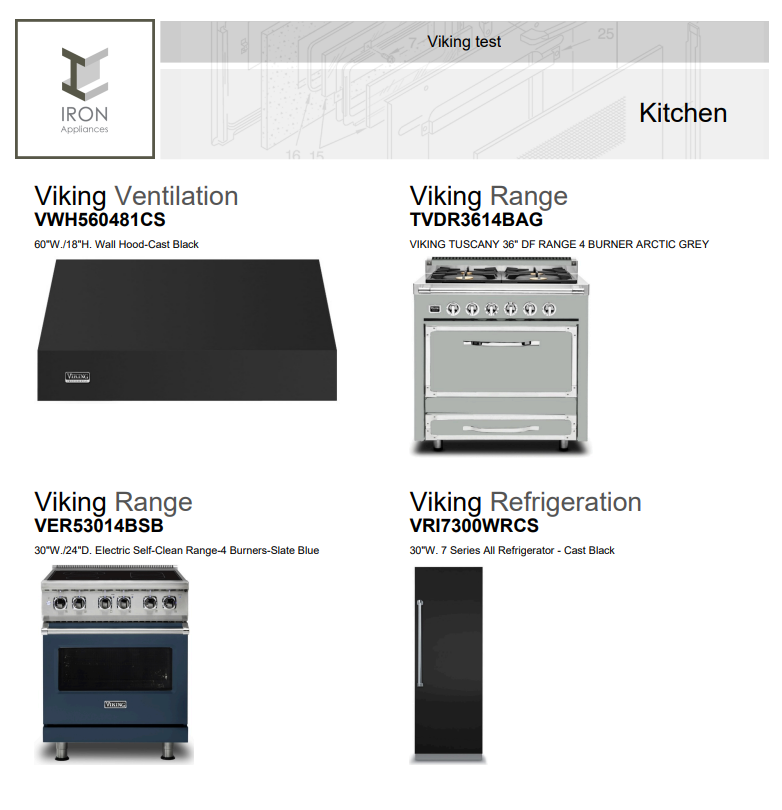
- 2×2 Grid
- Two columns, two rows per page
- Portrait layout
- 3×2 Grid
- Three columns, two rows per page
- Landscape layout
How do I change the divider page layout?
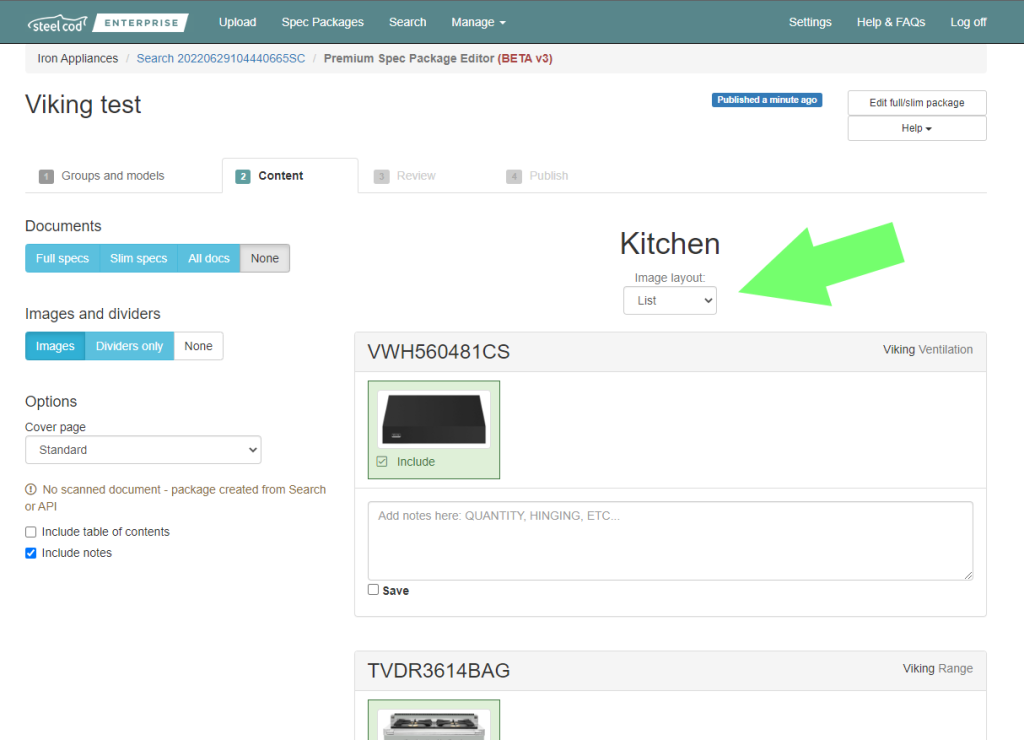
On the Step 2: Content tab, use the dropdown menu under the group/room name:
How do I annotate the spec package?
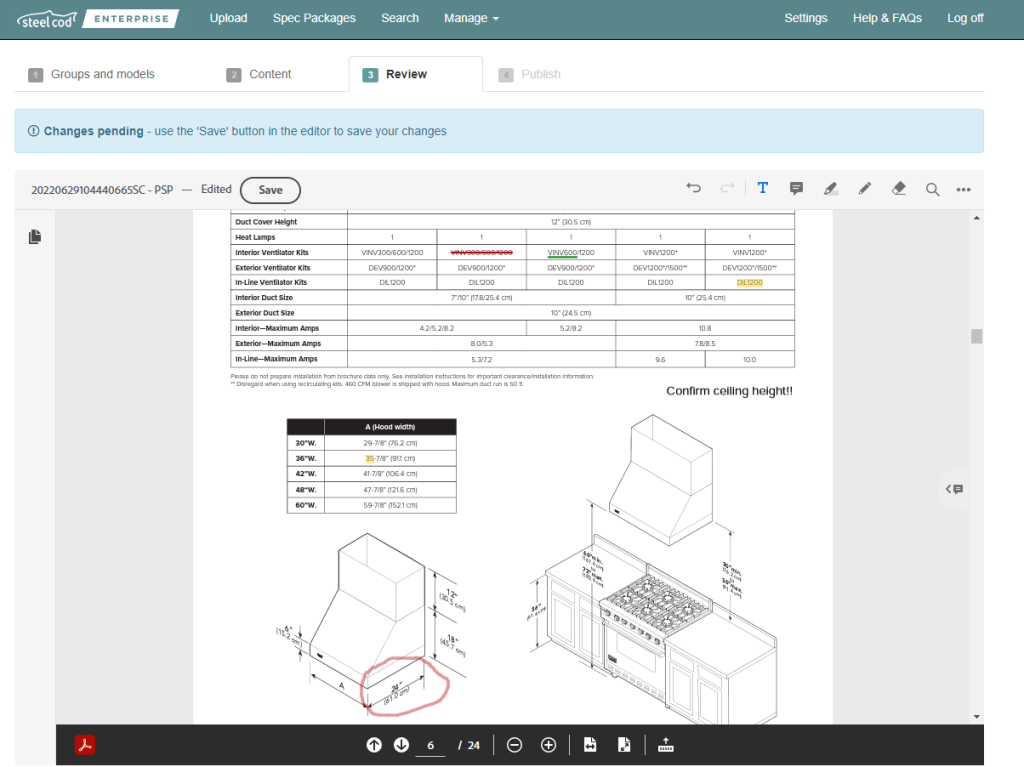
You can highlight, mark-up, underline and more from the Review step. NOTE: you will need to hit the “Save” button inside the editor before moving on.
How do add my own pictures?
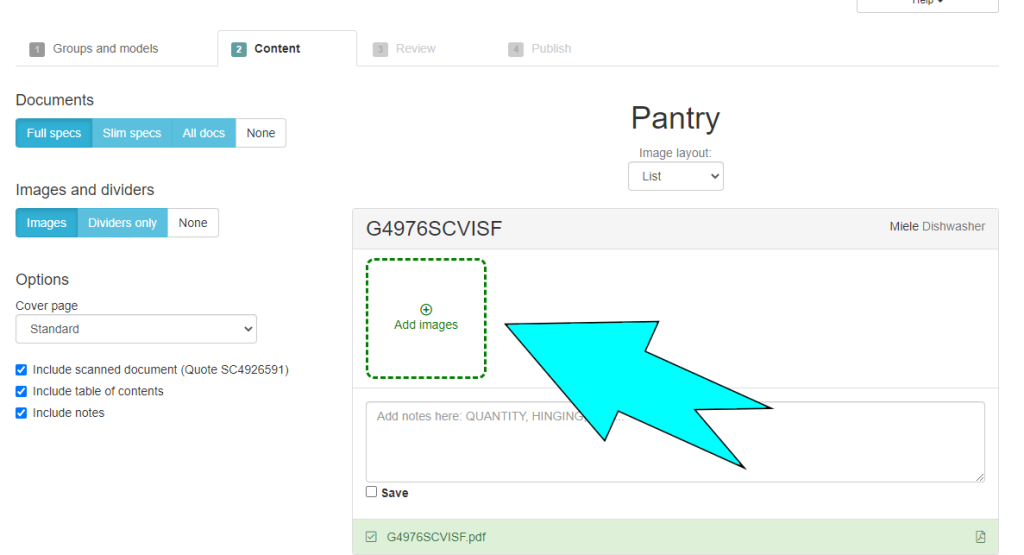
From the second step, “Content,” click the add images button to upload your image. Please note, images are single use only and will only be included in your current spec package.
Can I rearrange pictures for a specific model?
Yes! You can have multiple images for one model (when using the “List” layout) and re-order them be dragging them around. Hover over the pic your want to move, click and hold the left mouse button, and drop it where you would like!